
The partially drywalled kitchen. It's kind of magical to watch; things are now being given a form and texture that we haven't seen before.
posted by Rick and Linda at 8:55 PM
0 comments
![]()
![]()
The construction of our new home.
The partially drywalled kitchen. It's kind of magical to watch; things are now being given a form and texture that we haven't seen before.
posted by Rick and Linda at 8:55 PM
0 comments
![]()
![]()

posted by Rick and Linda at 8:53 PM
0 comments
![]()
![]()

posted by Rick and Linda at 8:51 PM
0 comments
![]()
![]()

posted by Rick and Linda at 8:49 PM
0 comments
![]()
![]()

posted by Rick and Linda at 8:45 PM
0 comments
![]()
![]()

posted by Rick and Linda at 8:39 PM
0 comments
![]()
![]()
 To make the Master Bedroom quieter, we had Evan insulate the walls along the Great Room and Master Bath with fiberglass batt insulation.
posted by Rick and Linda at 8:34 PM
0 comments
![]()
![]()

posted by Rick and Linda at 8:20 PM
0 comments
![]()
![]()

posted by Rick and Linda at 8:13 PM
0 comments
![]()
![]()

posted by Rick and Linda at 8:07 PM
0 comments
![]()
![]()

posted by Rick and Linda at 7:52 PM
0 comments
![]()
![]()
 Weekend warrior ammo.
 25 rounds per clip.
3 clips in the magazine.
28 degree collation.
Clipped heads.
Cement coated.
Lock and load!
posted by Rick and Linda at 10:37 AM
0 comments
![]()
![]()

posted by Rick and Linda at 11:40 AM
0 comments
![]()
![]()

posted by Rick and Linda at 11:33 AM
0 comments
![]()
![]()
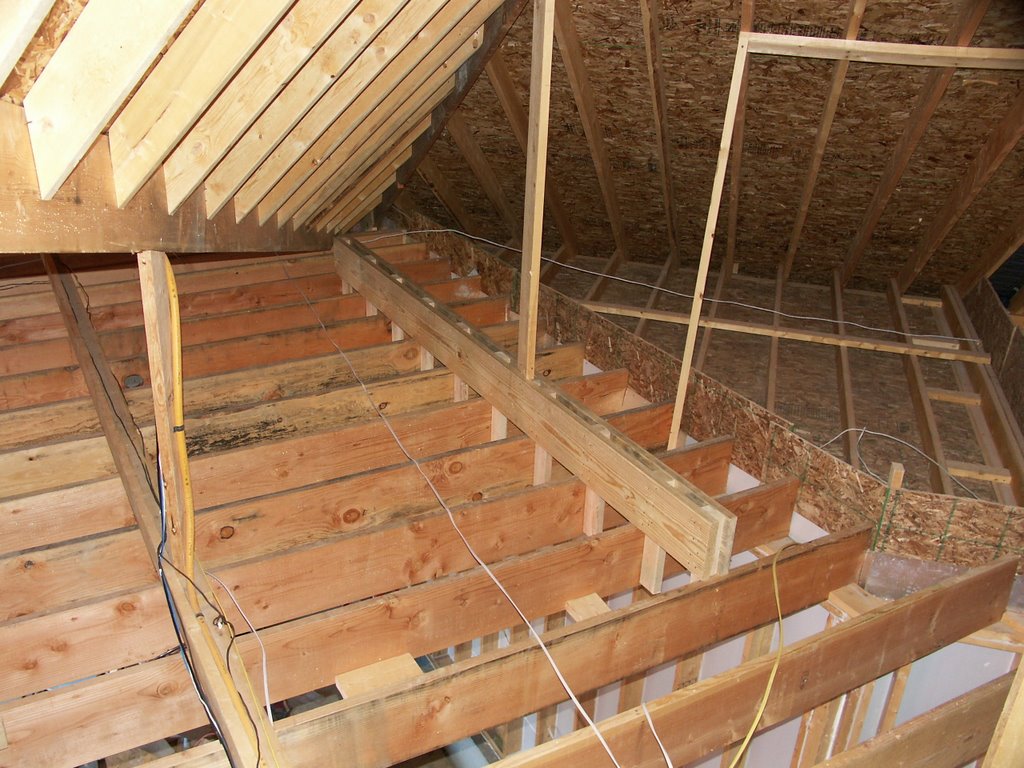
 The house attic looking towards the Great Room from the Mudroom entry area. The attic walkway and handrail that Evan put in can be seen to the right. The silver kneewall across the middle is to keep the cellulose insulation from sliding off the sloped cathedral ceiling.
posted by Rick and Linda at 11:27 AM
0 comments
![]()
![]()
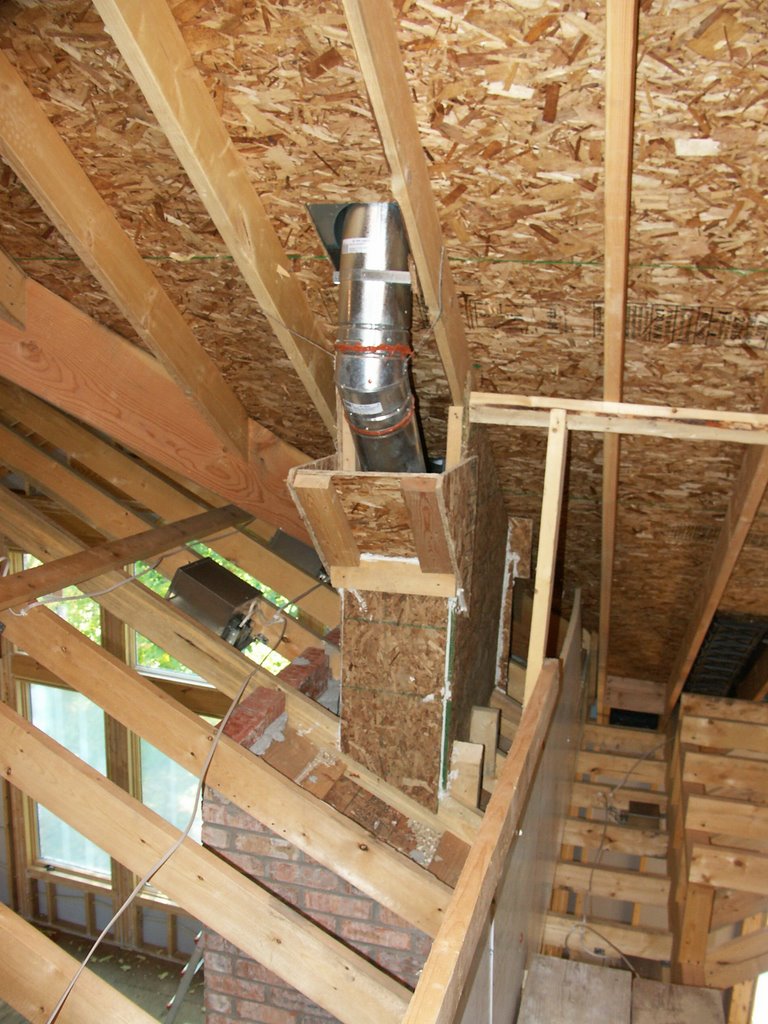 The direct-vent fireplace chimneys exiting through the roof in the attic (the second chimney is barely visible behind and below the first). The boxing around the chimneys (just above the Great Room ceiling) is not too pretty, just functional, contains noncombustible vermiculite as insulation to avoid cold spots in the house ceiling.
posted by Rick and Linda at 11:19 AM
0 comments
![]()
![]()
posted by Rick and Linda at 10:58 AM
0 comments
![]()
![]()

posted by Rick and Linda at 10:31 AM
0 comments
![]()
![]()
posted by Rick and Linda at 10:26 AM
0 comments
![]()
![]()

