Saturday, April 29, 2006


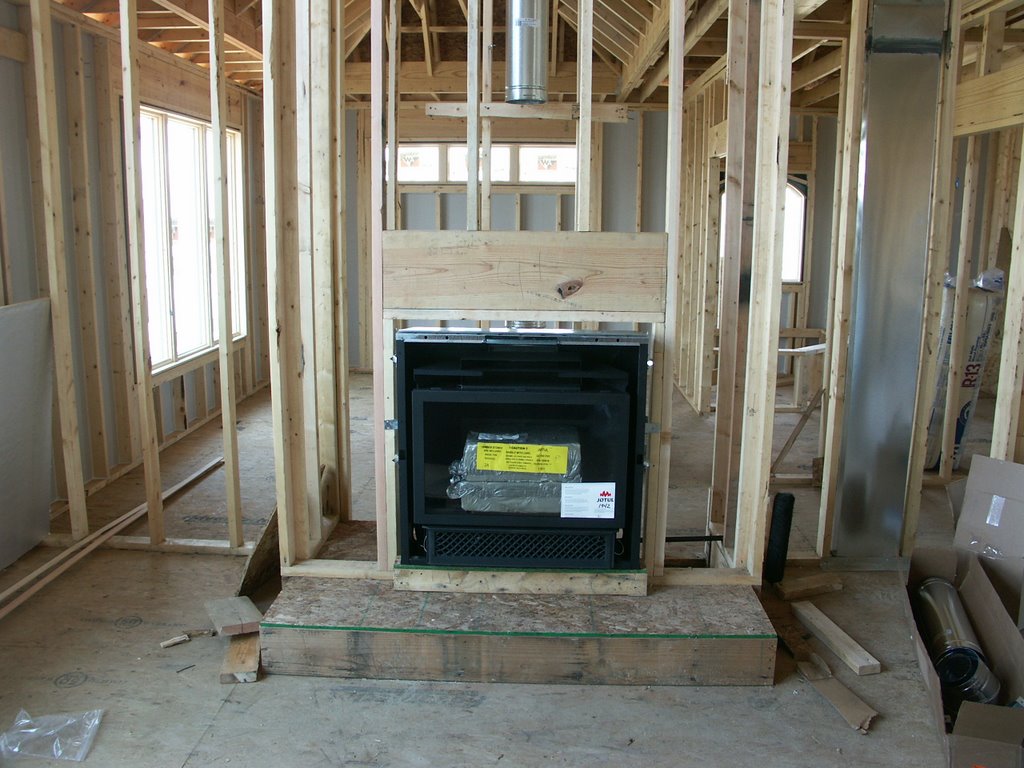
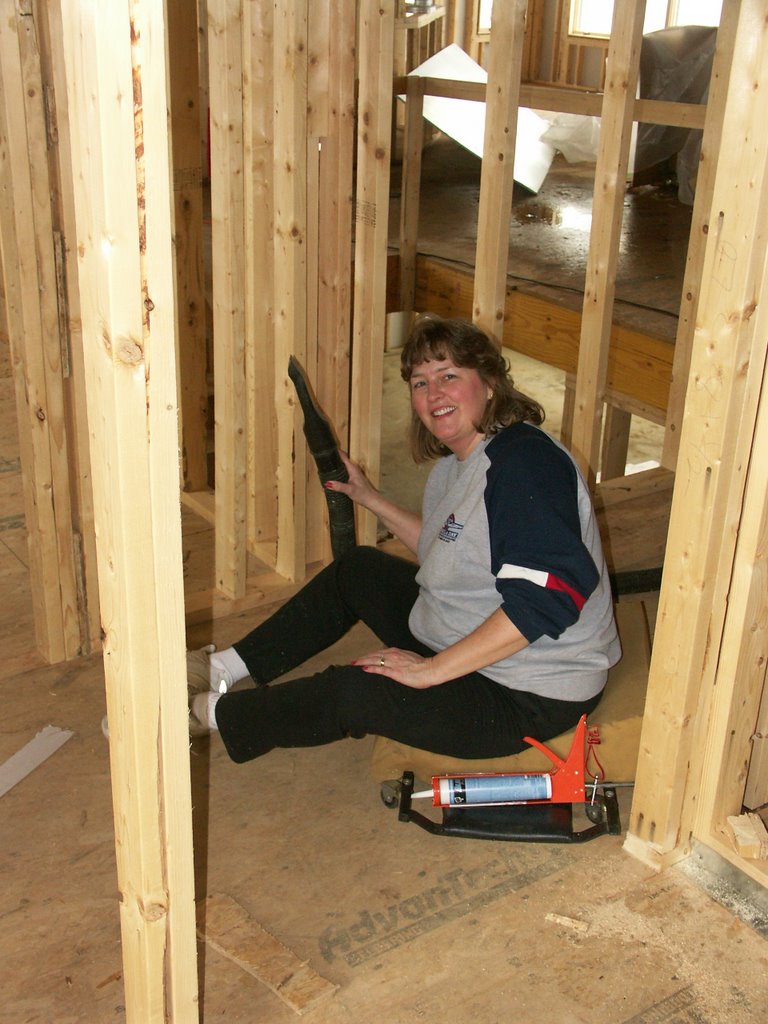
The aftermath. Saturday, 8:30 PM, I just finished installing a 'dryer box' with a natural gas line running to it. It's been a long day of running gas lines to the fireplace and kitchen range as well. Time to put the tools away, pack up the truck, and head home.


The finished backside of the house, well there are some windowsills to still do on the basement level, but it's basically done. It's just awesome to stand outside and look at the house now!


The backside of the house finished.


The bedroom corner of the house, partially bricked.
Day 3 of bricking. It is looking so pretty to us, we are very pleased with the brick choice and the workmanship of the masons.


The bricking continues on the back of the house, with Linda making sure the quality is up to snuff.


The supervisor, checking out the work!

Monday, April 24, 2006

We are getting bricked! Yoooohooooo! I am sooooo tired of looking at the blue and silver foam, and the gray concrete, that this is going to be GREAT! It is already looking awesome! Linda spent a lot of time talking to potential contractors and looking at houses and buildings that they bricked, trying to find ones that did good work. She had several meetings with this crew and stressed that we wanted tight, uniform joints and good brick alignment. From the start, it looks like Francisco, Rosandro, Juan and Jose are coming through and doing a very nice job!


Sunday, April 23, 2006

Fireplace with the surround pieces installed, so the brick masons can brick the hearth (bricking starts tommorrow!) The arched and operable doors are not installed yet (didn't want to expose them to unnecessary danger!). We will wrap what you see here with visqueen to protect the finish and glass from mortar, etc. during bricking.


The fireplace ready for bricking. The chimney to the right is for the (future) basement fireplace. Immediately above the two chimnies, in the attic area, is a box surrounding the chimnies to separate them from the cellulose insulation to be blown into the attic. Most people leave the box around these flues empty because combustible material is not allowed within 1" of them by code, but I chose to fill them with vermiculite (a fully oxidized mineral product) because it has insulating value. The R value around the pipes is about R-60 minimum.

Tuesday, April 11, 2006


A view of the finished porch beam and the hillside from the patio door. Can't wait till the house is done and we're sitting here enjoying the view!


Assembling the beam. The porch support beam is made from five treated 2 x 12's about 16' long! With just Evan and me putting it together, we had to asemble the beam a board at a time in-place. The beam is sized to support the screened-in porch that will be under roof as well as a deck that is planned to extend out 12' from the house.


The beam support bracket for the garage end of the porch beam, made from 3 1/2" x 3 1/2" angle iron and mounted with eigth 1/2" RedHead anchors into the concrete wall.


Our fireplace! Well, OK, it's a work in progress. It's a Jotul Acadia direct vent gas fireplace. There's several cast iron surround and trim pieces that won't go on until drywall and pain ting is done, but it will have double cast-iron doors with glass inserts that can be opened for a viewable fire.

Sunday, April 02, 2006


The invalid was able to put in two good days of work yesterday and today! Yeah! We set her up with my mechanics creeper and a foam cushion (borrowed from the roofers) and she was able to roll around vacuming and caulking wall cavities (we're caulking the ThermoPly sheathing to the framing to minimize air infiltration). She got a lot of good work done and the foot did AOK.


The garage platform over the basement stairway. The stairway took away garage floorspace, but the platform reclaimed enough back for a refrigerator, freezer, and a water softener. The lefthand section (3' wide) is also removable, in case we have to get something big down the stairway, like plywood or drywall!