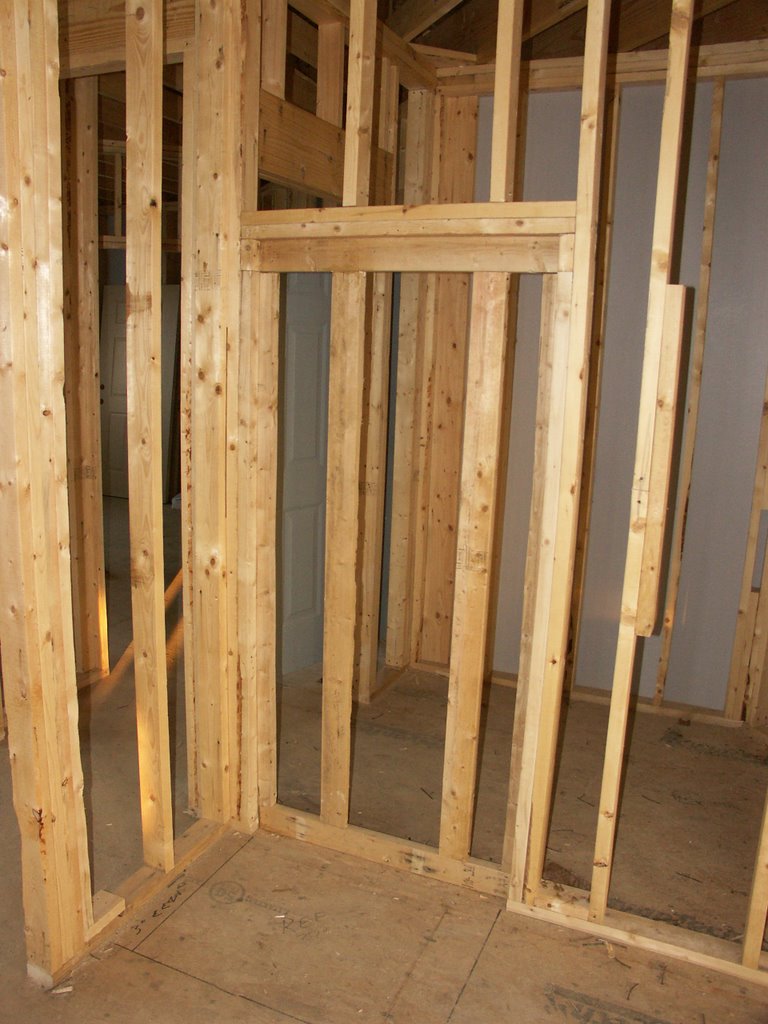
The wall behind the refrigerator was reframed to allow the fridge to be recessed into the wall, gaining 2 more inches in front.
posted by Rick and Linda at 7:26 PM
0 comments
![]()
![]()
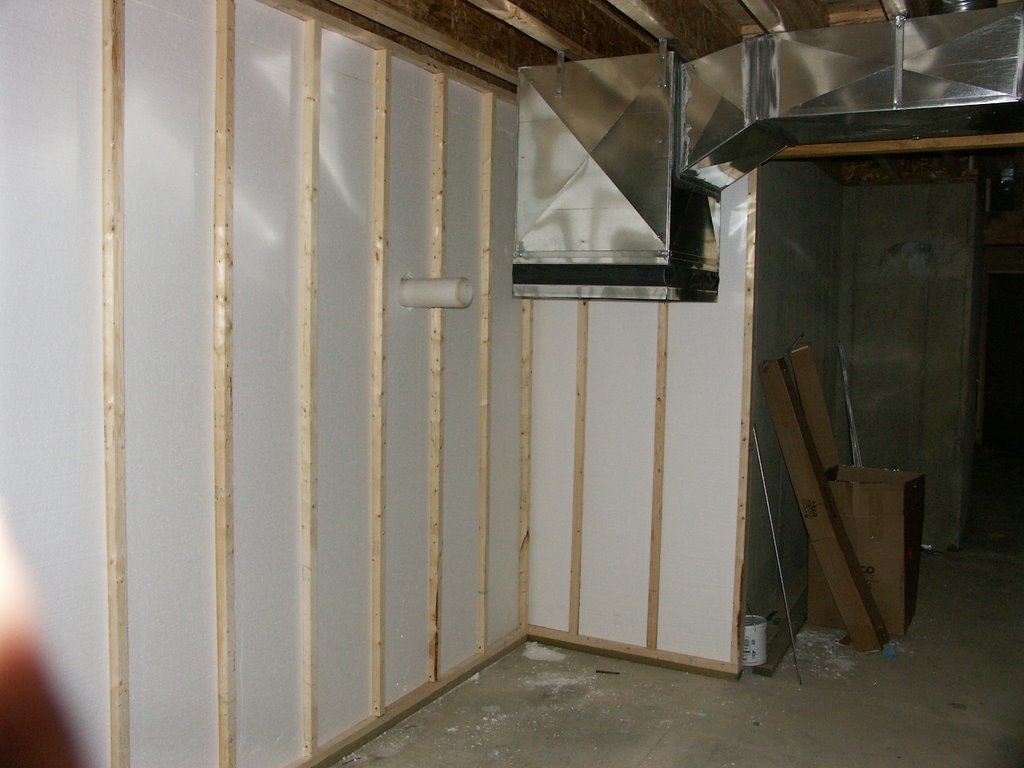
The construction of our new home.
posted by Rick and Linda at 7:26 PM
0 comments
![]()
![]()
posted by Rick and Linda at 7:22 PM
0 comments
![]()
![]()
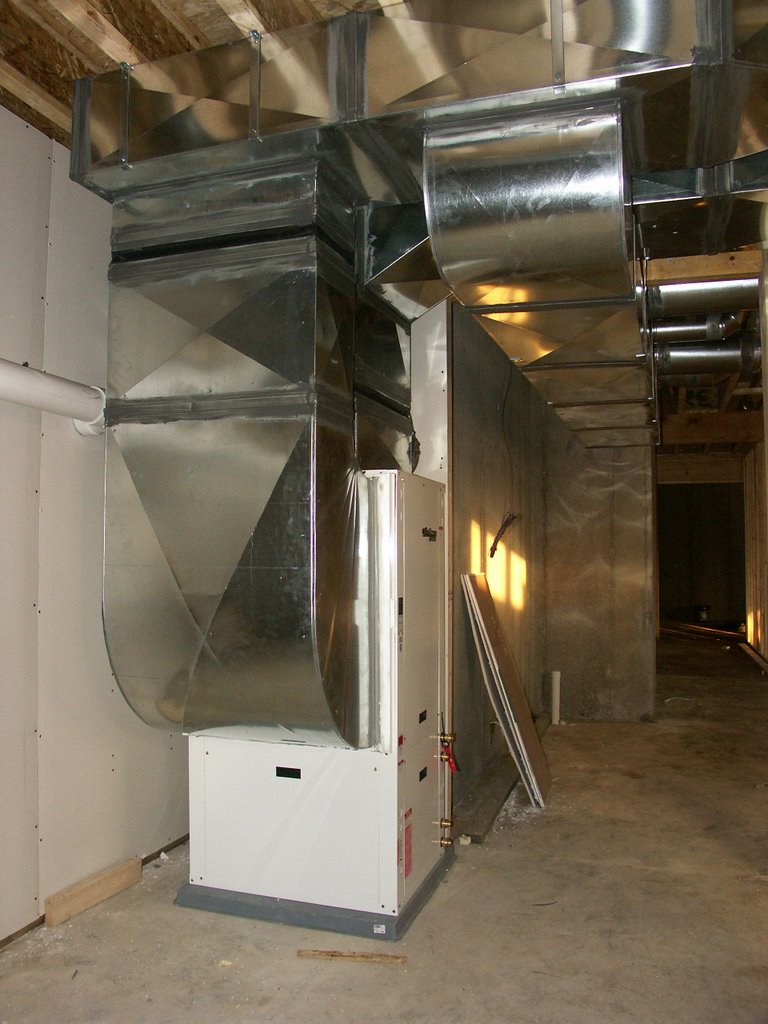
 Ductwork installation in the Utility Room is complete. The maze of ducting in the hall ceiling really crowds the area. Other utilities such as the main electric feed to the garage, the water lines, gas line, and drain line needs to use this area as well. It's going to be interesting getting everything in!
posted by Rick and Linda at 7:10 PM
0 comments
![]()
![]()

posted by Rick and Linda at 1:15 PM
1 comments
![]()
![]()
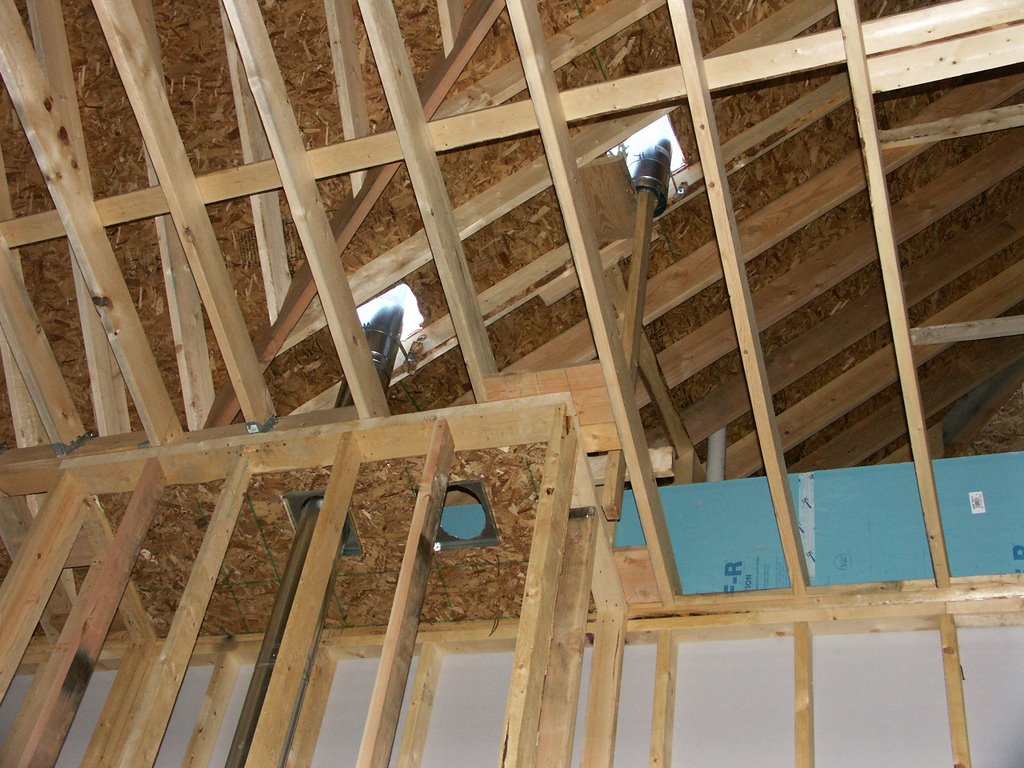
 Open vent holes in the roof (some only recently covered by a blue tarp). Altogether there are 25 such holes! Yes, the framer believed in ventilating the roof. These holes are on the main roof as well as on each gable and the garage, so when it rains, just about everywhere gets wet. Yuk! Hopefully the roofer will be done shingling next week.
posted by Rick and Linda at 1:09 PM
0 comments
![]()
![]()
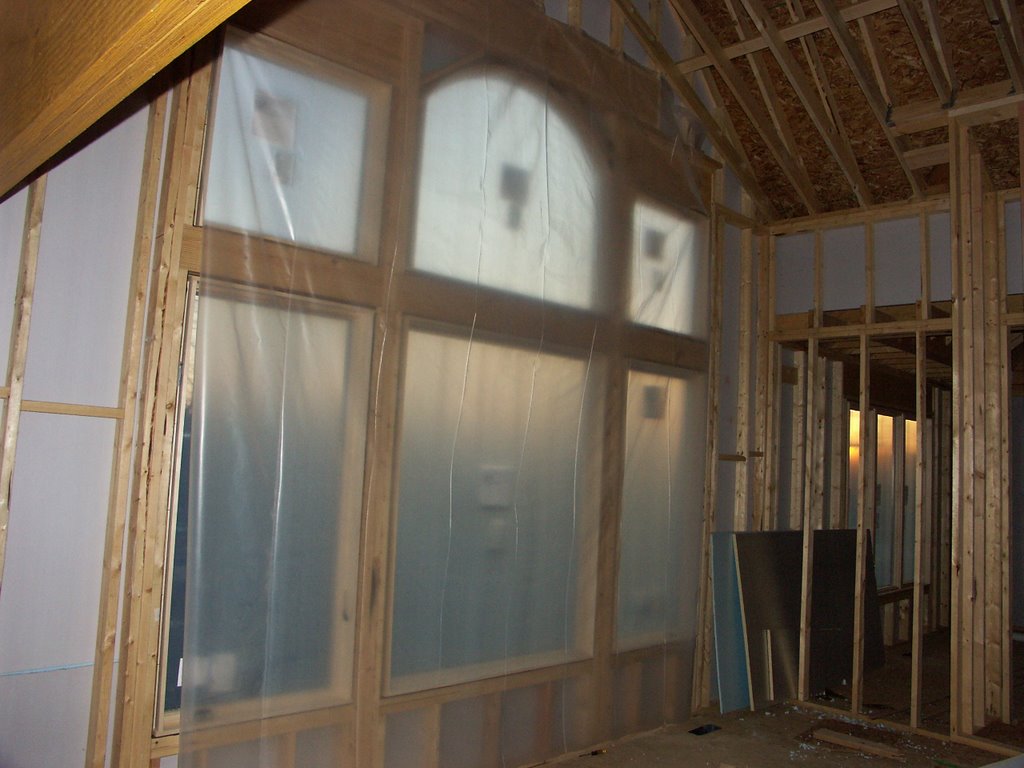
 Because of all the open vent holes in the roof, we draped plastic over windows and doors to protect the wood jambs from becoming water stained.
posted by Rick and Linda at 1:03 PM
0 comments
![]()
![]()
posted by Rick and Linda at 10:57 AM
0 comments
![]()
![]()

Future home of the Great Room fireplace. There are two chimney openings going through the roof above, one for the Great Room, and one for a future basement fireplace.
posted by Rick and Linda at 10:43 AM
0 comments
![]()
![]()
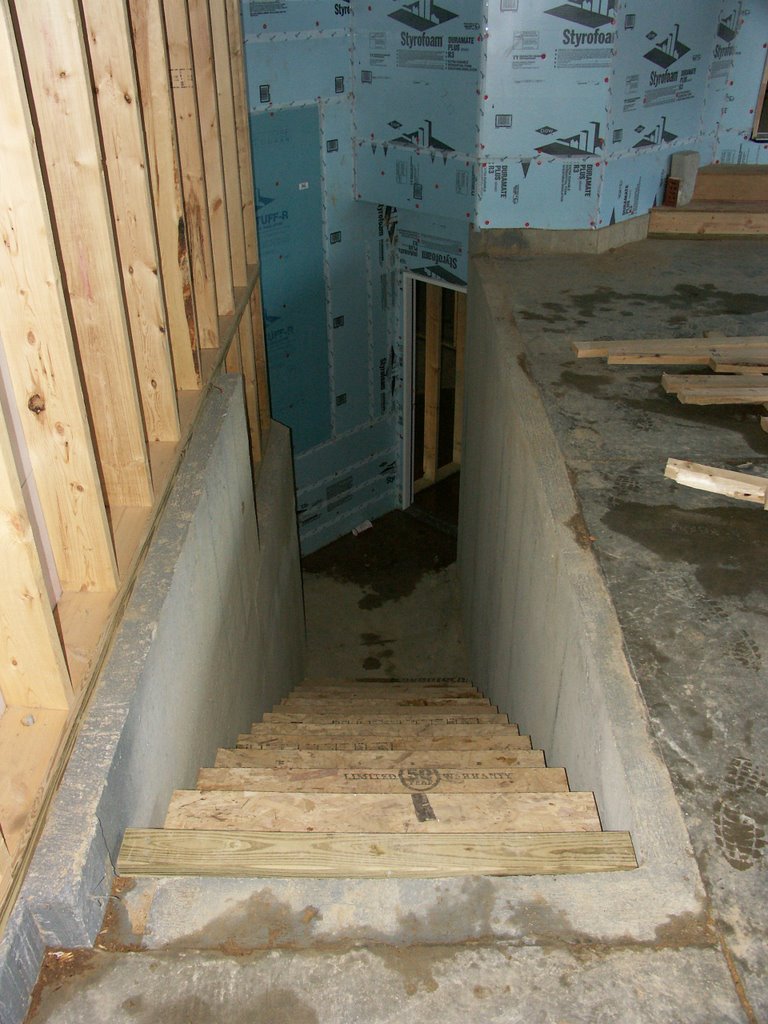
The garage stairway to the basement. The door into the mudroom is just off to the right in the photo. Plans are to build a platform over the far end of the open stairwell, reclaiming some of the lost floor area for the garage refrigerator, freezer, and water softener. Also need to put up a safety railing to keep from falling into the stairwell.
posted by Rick and Linda at 10:37 AM
0 comments
![]()
![]()

Those darn blue shingles! That's not the color we picked.
posted by Rick and Linda at 10:34 AM
0 comments
![]()
![]()
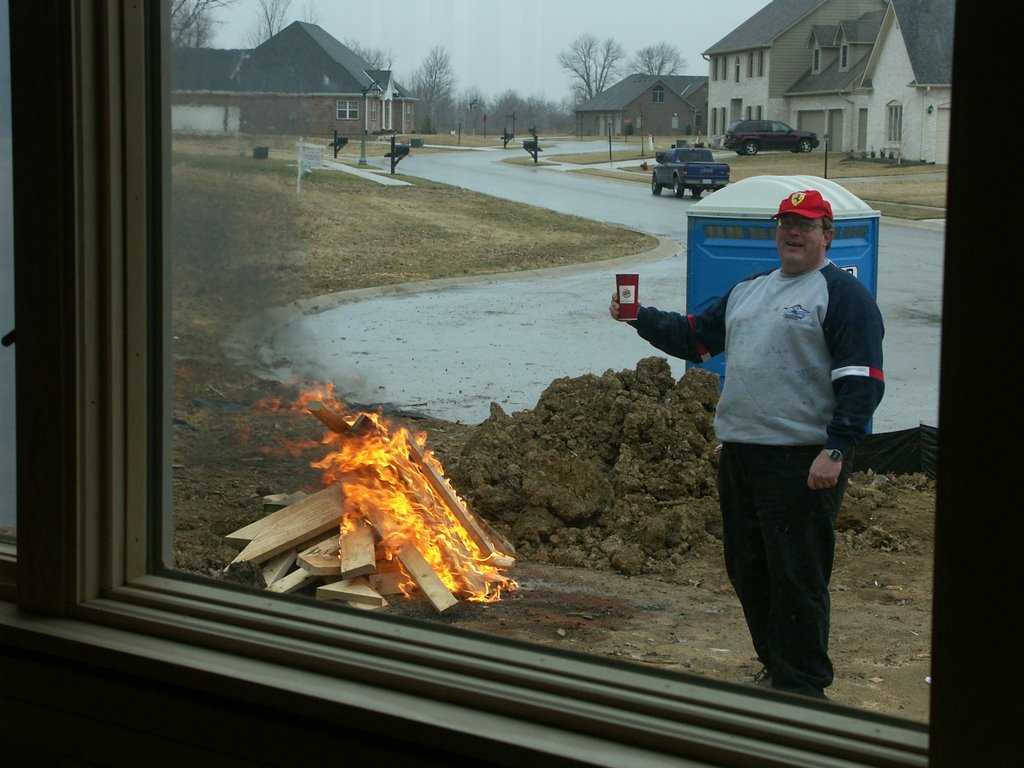
Toasting the fire with an empty cup of gasoline. The fire was a 'flash in the pan'; the gas burned and then went out.
posted by Rick and Linda at 10:31 AM
0 comments
![]()
![]()
Problem: Looks like we don't have any brick ledge around our front porch recess. When we brought this up the the foundation contractor, he showed us that our foundation drawing didn't show/require any, but our main-level drawing did show it. Ah, that must be why we pay good money for a house designer! Anyway, I figure I can rent a cement mixer, buy some bags of concrete mix and rebar and fix the problem for under $100.
posted by Rick and Linda at 9:46 AM
0 comments
![]()
![]()

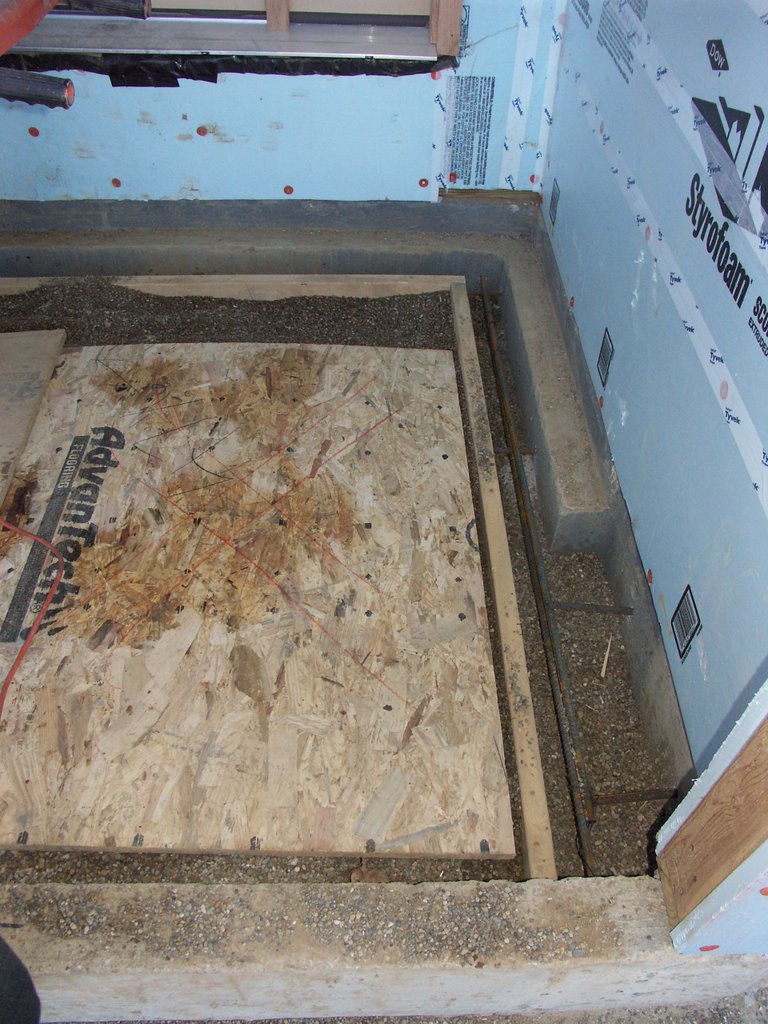
After removing some of the pea gravel, I found that we did have a partial brick ledge, but it wasn't wide enough to give complete support under the brick (visible on the left, back, and right in the photos above). To remedy the entire brick ledge problem, I drilled 1/2" holes into the foundation, drove in either short pieces of rebar to keys the concrete to be poured to the foundation or long pices of rebar to create a concrete support beam along the 3 sides. Mixing the concrete and pouring was the easiest, and the most fun part, of the process!
posted by Rick and Linda at 9:45 AM
0 comments
![]()
![]()
